Schraube locker

Langsam geht es weiter 😉

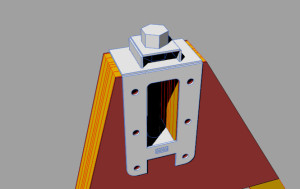
Dieses Mal war die Spannschraube des Spannturms dran. Mit dieser werden die Spanndrähte der Tragflächen gespannt und der Flieger erhält seine eigentliche Festigkeit. Hier musste zunächst eine passende Schraube gefunden werden, da M1-Schrauben nur in begrenzter Länge verfügbar sind. Um diese Schraube wurde dann der Hauptbeschlag drumherum konstruiert. Dabei bin ich leicht vom Vorbild abgewichen, damit dieser hinterher auch funktionsfähig ist.
20


Creating Laser Parts

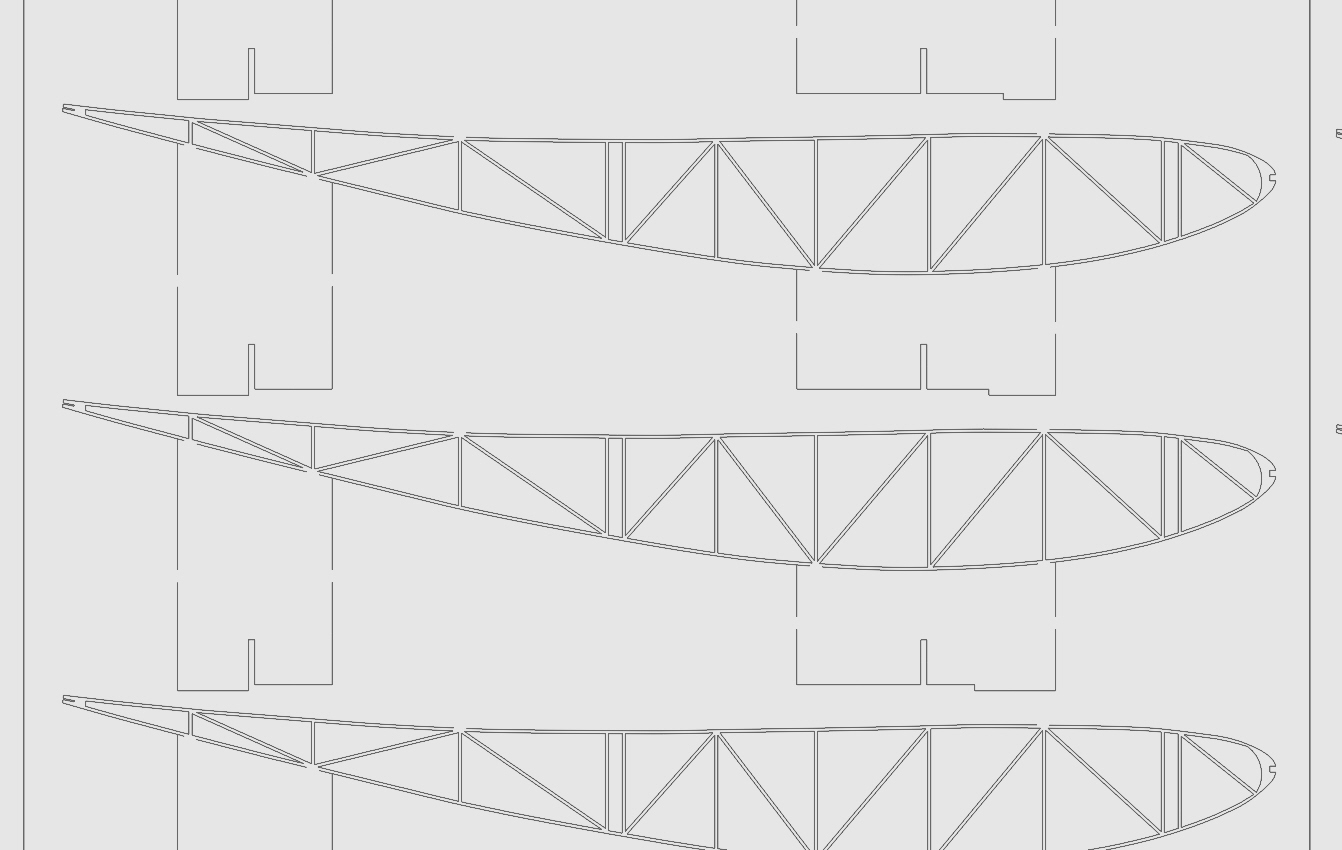
After finishing the wing and doing a lot (!) of boolean ops for the tabs and slots I started creating the apges to be used to lasercut the 1mm parts. This included converting everything into two layers. One layer will be used for cutting, the other layer will be used for engraving.

I also had to take care of the little tabs/bridges that keep the cut parts from falling out immediately. For cutting efficiency I tried to keep these as few as possible.

2D_1

As you can see for the spars I ended up dividing them into two parts and I used an A3 sheet. Note to myself: Don’t use this type of spar for a functional model!

Wing Support Fitting

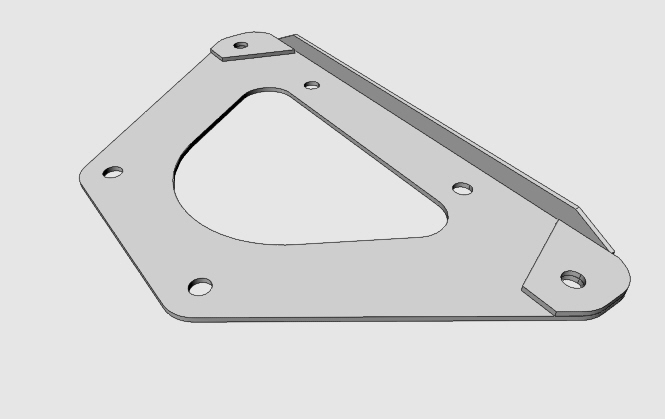
The fittings for connecting the wing support wires are drawn straight from the plan. They are drawn as simple sheets with one side creased by 90°. The mounting holes get doubled with a piece of welded material. And this is exactly how it was done. I had the markings on the spar allready inlcuded (lucky me), so positioning the parts was easy. To tell the thruth I only made one and the other three were just mirrored. The spars are exactly parallel and same size and the parts itselves are mirror symmetrical.

The fitting:

Aussenbeschlag

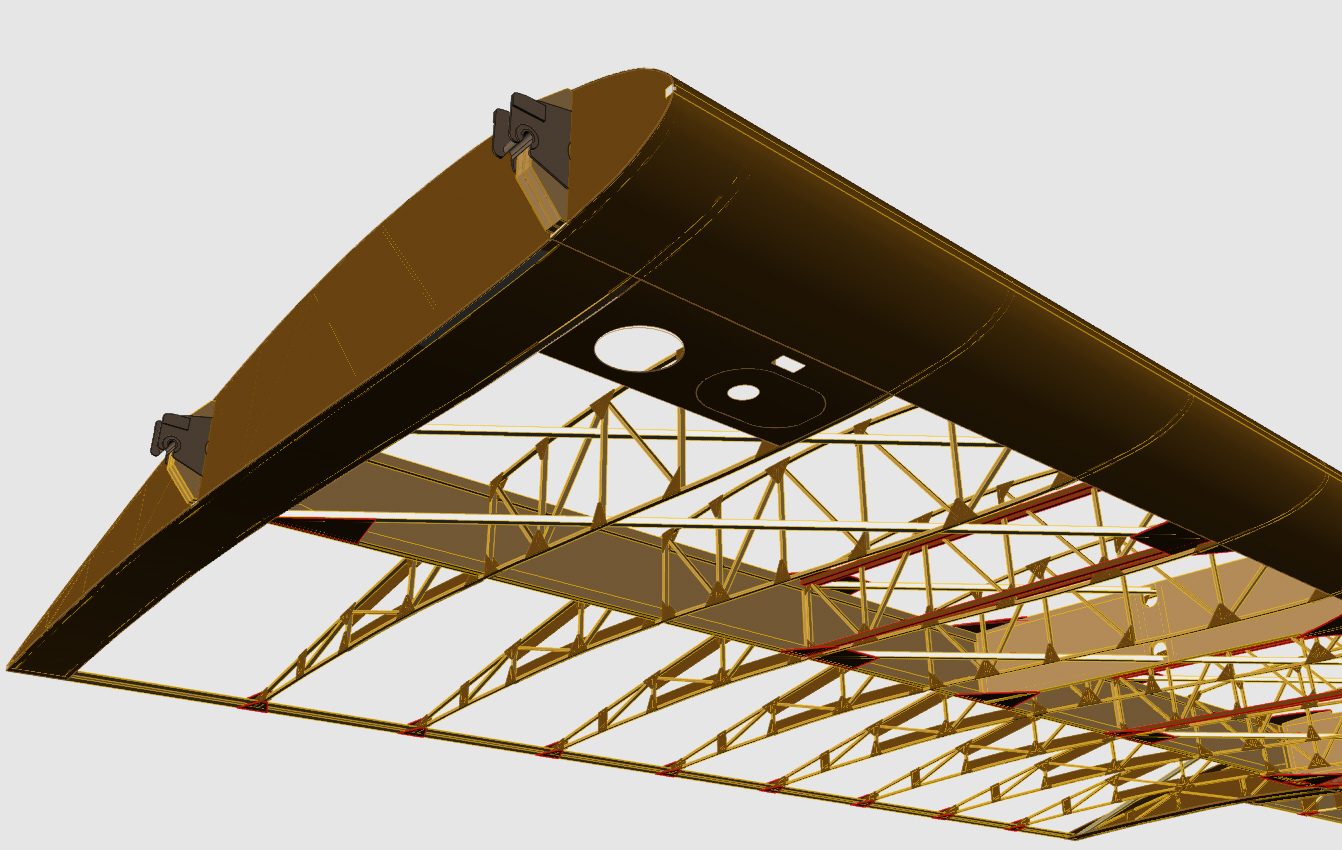
And the fitting in its natural habitat:

Outer fitting

Oh yeah, here you can see a little bracket that gets attached with the same screws as the fitting. These are used to connect the fittings with a steel cable to accomodate some of the load by the support lines. Some of these run to the central wing tower and some are running backwards to the fuselage.

And finally the other other one:

Outer fitting2

Yepp, forgot to include the bracket here

Finishing wood details

The two guide pulleys of the aileron control lines do have two access hatches. These are simply made from three parts of spruce. The planking piece, a frame and the hatch itself. I still have to decide on a hinge to use.


Hand_Hole

Details_1